
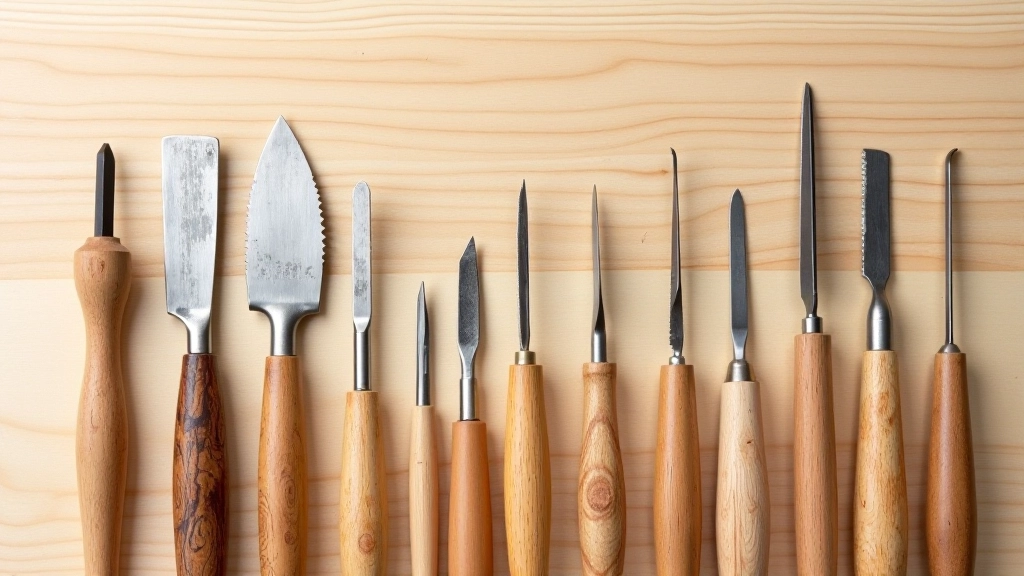
Choosing the Right Tools for Relief Work
Not all carving tools are the same. We break down gouge sizes, blade shapes, and what you actually need to start.
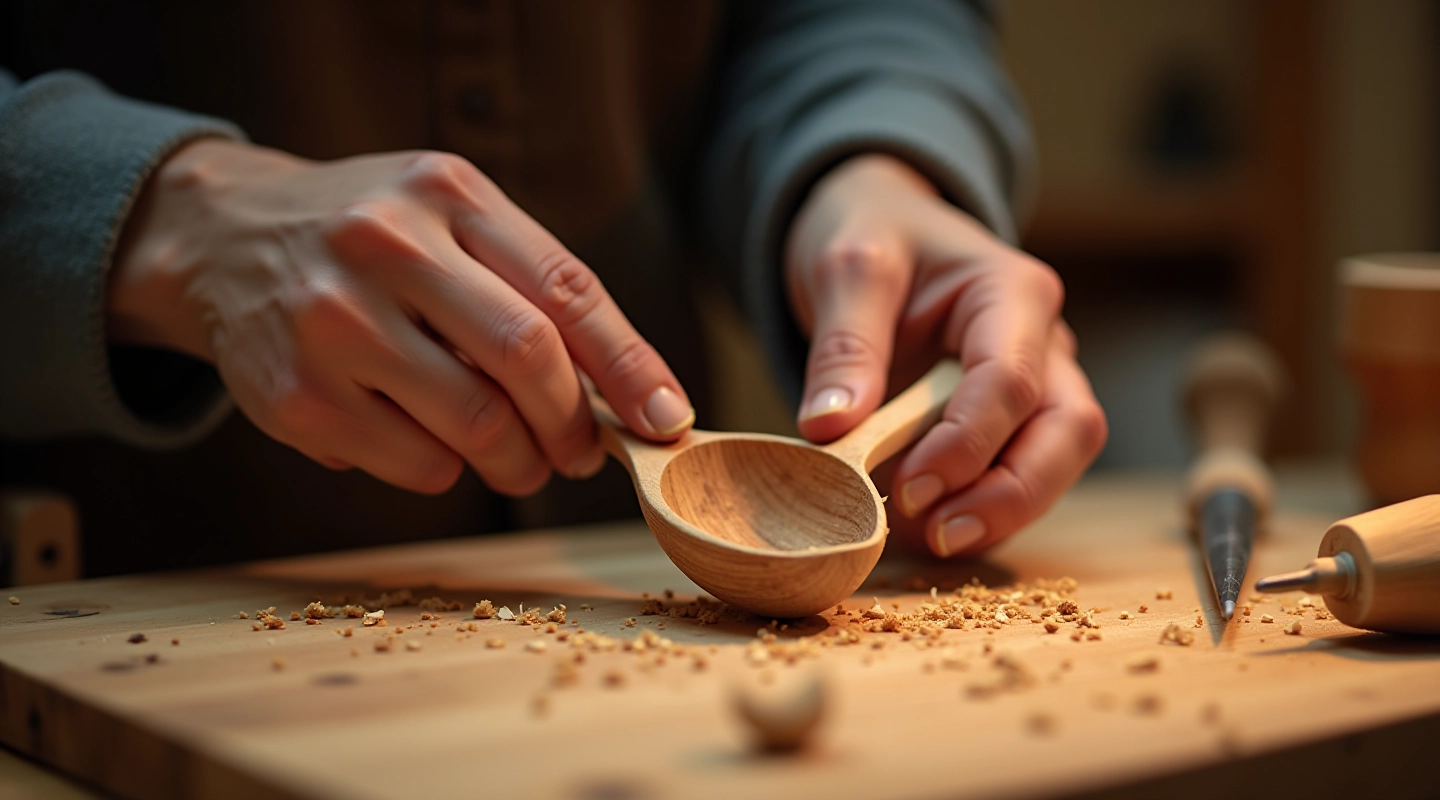
Step-by-step instructions for creating a functional Latvian spoon. We cover tool selection, wood choice, and the five cuts every beginner needs to master.
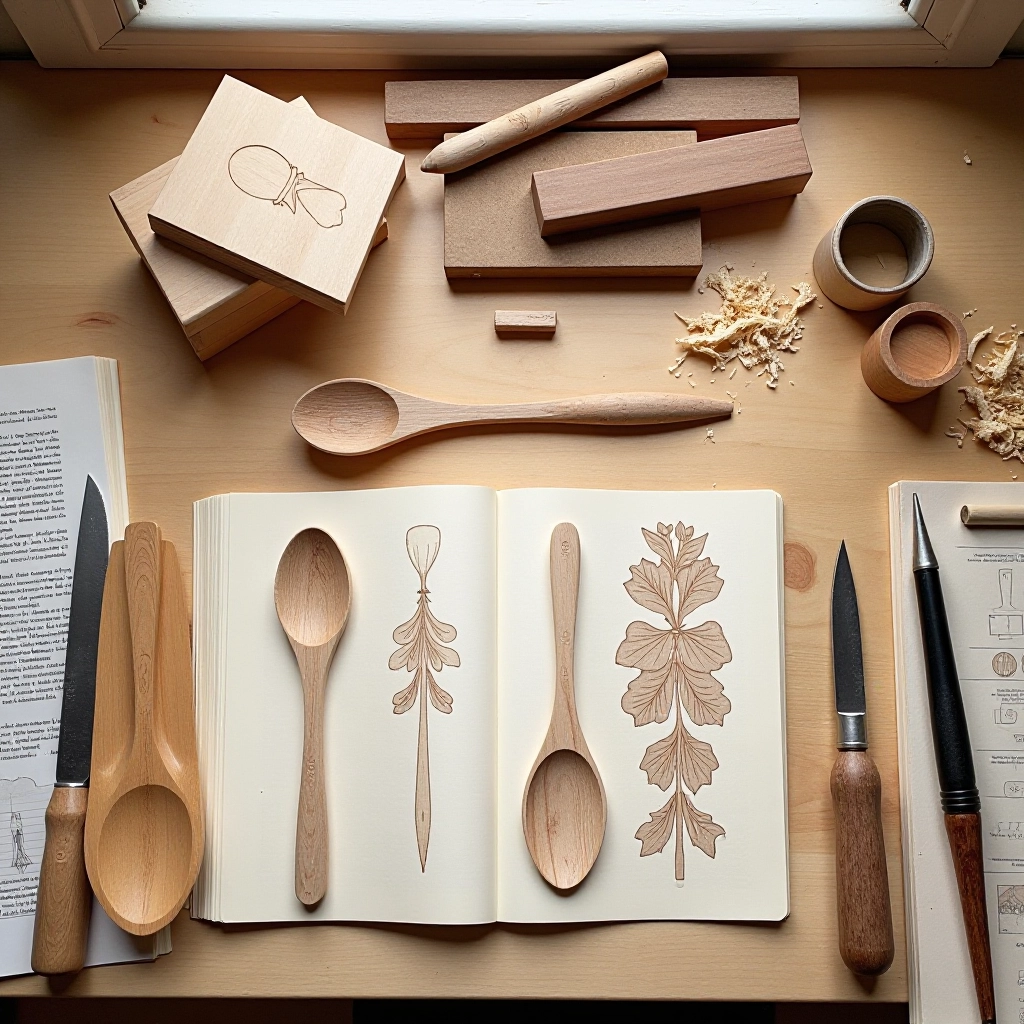
Written by the wenroriteīga Woodcarving editorial team, focused on clear, honest guidance for beginning woodcarvers.
A wooden spoon isn't just a kitchen tool. It's your entry point into understanding grain, learning tool control, and actually finishing something real in 48 hours. You'll hold something you made with your hands at the end of the weekend.
We're not talking about complex relief patterns here. This is a functional spoon — smooth, balanced, and ready to use. The kind of project that builds confidence because you can see real progress every couple of hours.
Not all wood works for spoon carving. Basswood is soft, takes detail well, and doesn't splinter — that's your first choice. Aspen works too. Avoid anything hard like oak or maple for your first spoon. You'll spend more energy fighting the wood than learning technique.
You need a piece about 2 inches wide and 3 inches long, roughly 1.5 inches thick. Draw a centerline down the length. This becomes your reference — keep the spoon balanced on both sides of this line. Draw a simple spoon outline: handle is maybe half an inch wide, the bowl widens to about 1.5 inches at the deepest point. Simple geometry. Nothing fancy.
The wood grain matters more than beginners realize. Run your finger along the blank. One direction feels smooth, the other rough. You'll carve "downhill" on the grain — cutting toward the direction that feels smooth. This prevents tearout and saves your tools from jamming.
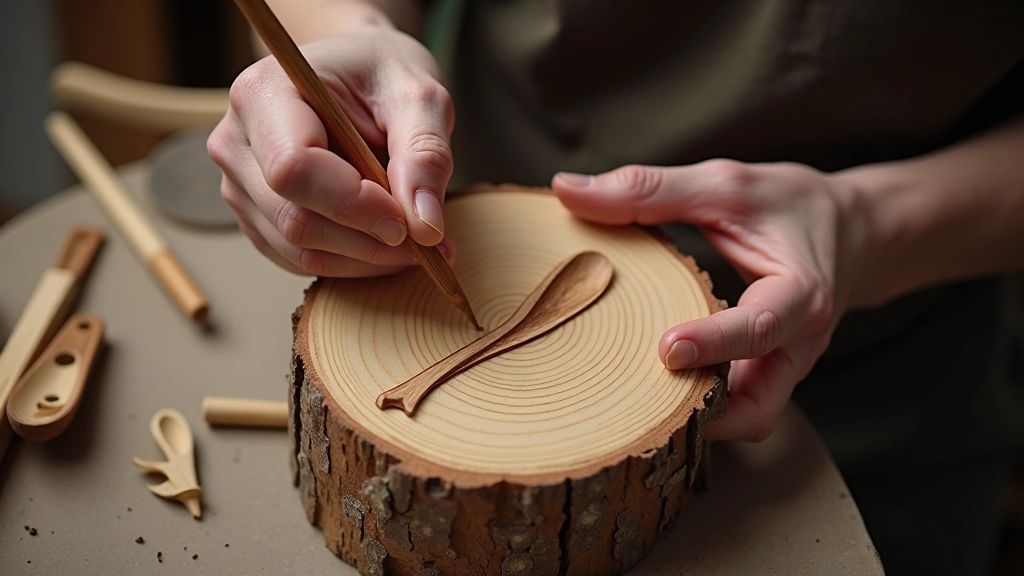
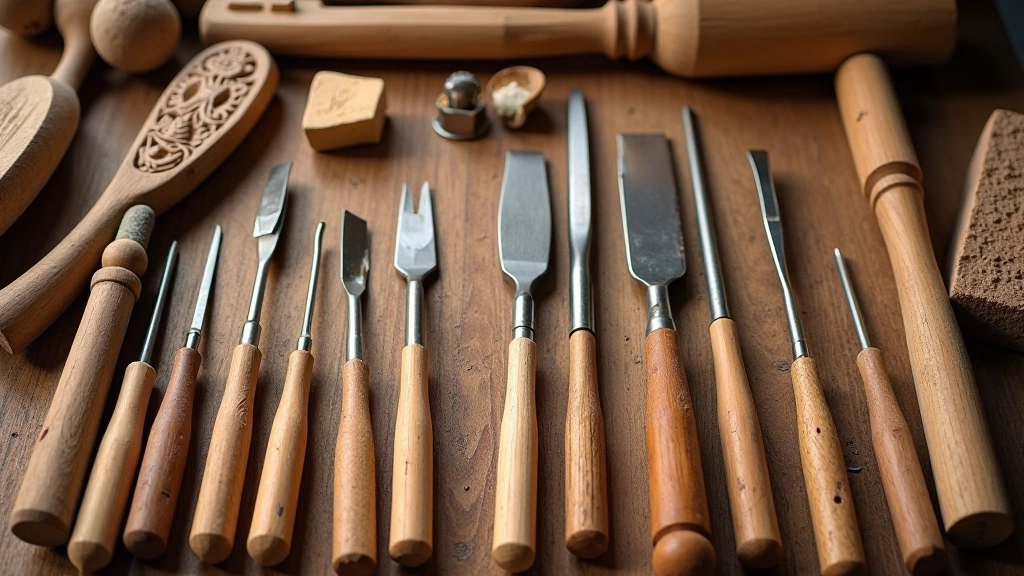
Here's what separates beginners who finish from those who quit: understanding tool pressure. You don't hammer your gouge into the wood. You guide it. The mallet provides maybe 30% of the work — your hands control the angle and depth.
Every spoon uses five basic cuts. First, establish the bowl shape with gentle scooping strokes, working the detail gouge in curves that follow the wood grain. Second, rough out the handle thickness with the flat chisel, removing wood from the sides. Third, undercut the transition between handle and bowl so your fingers don't catch an edge. Fourth, refine the bowl depth — you want it maybe a quarter-inch deep at the deepest point. Fifth, smooth everything with controlled strokes that feather into the grain.
That's it. Five cuts, repeated in different areas. You'll spend maybe 4 hours carving, 2 hours sanding.
This guide is educational and designed to help beginners understand the fundamentals of spoon carving. Every person learns at a different pace. Some will finish in a weekend. Others might take 2-3 sessions. That's completely normal. Always prioritize safety — keep your hands behind the blade, secure your wood properly, and work in good lighting. If you're uncomfortable at any point, take a break. Carving isn't a race.
Don't rush sanding. Start with 80-grit, which removes carving marks. Move to 120-grit, then 220. This progression takes maybe 90 minutes and transforms your spoon from rough to actually nice in your hand. Sand with the grain, always. Sand across it and you'll see scratches that'll drive you crazy.
A light food-safe oil finish — mineral oil or walnut oil — takes 5 minutes and makes your spoon look finished. It's not required, but it changes how the wood looks. The grain becomes visible. The color deepens slightly. It feels like you actually made something real.
Not all carving tools are the same. We break down gouge sizes, blade shapes, and what you actually need to start.
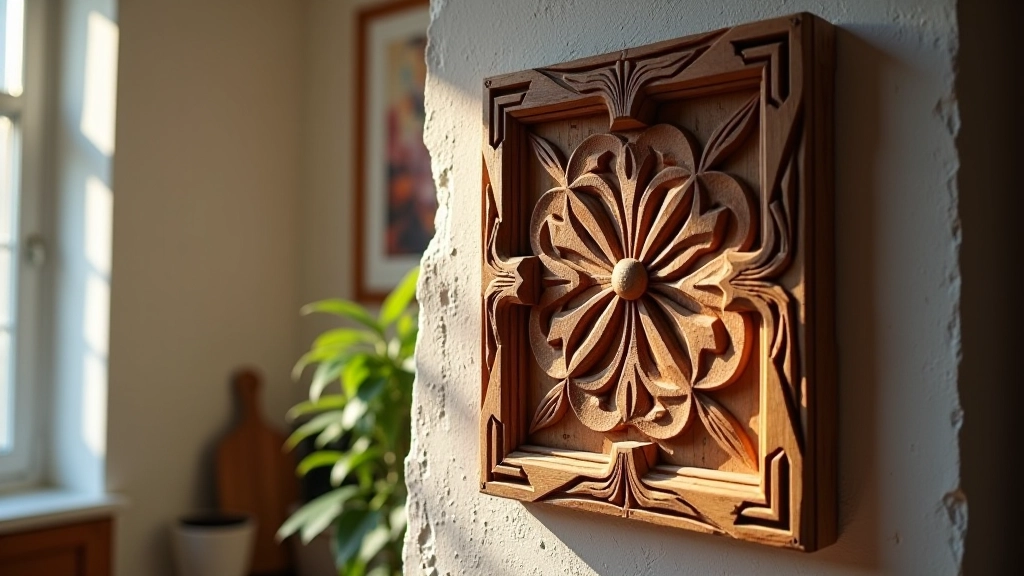
These patterns aren't random. Each symbol has meaning. Learn the basics of traditional design that's been carved for generations.
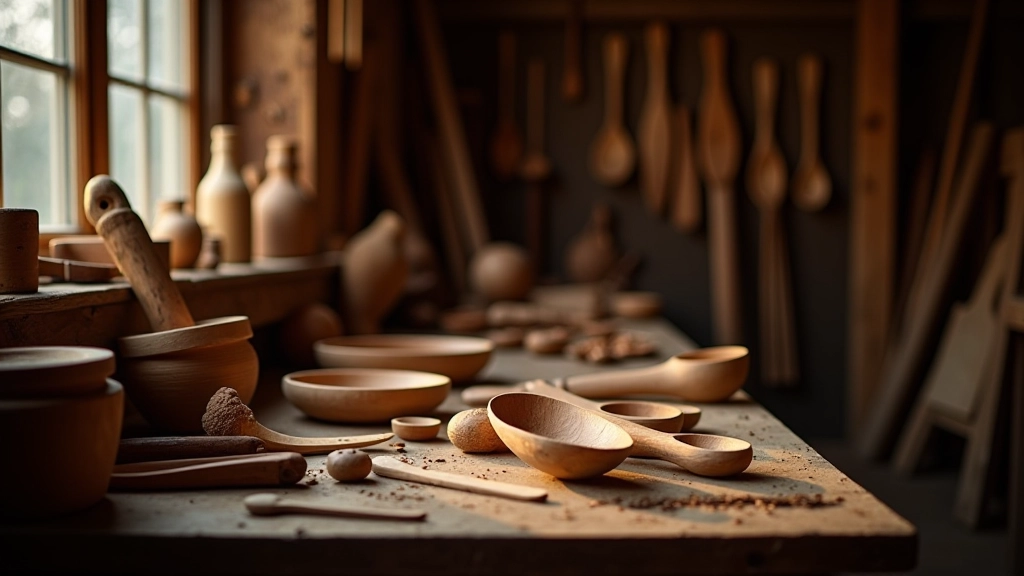
We've seen them all. Grain direction mishaps, tool pressure problems, and wood selection errors. Here's what to actually watch out for.
A weekend spoon carving project teaches you more about tool control, wood behavior, and your own patience than any lecture could. You're not making a museum piece. You're making a spoon that works, that you'll use, that you made with your own hands. That's what matters.
Start simple. Enjoy the process. Sand when you're tired of carving. Take your time with the finish. By Sunday evening, you'll have something real to show for your weekend. That spoon becomes proof that you can learn this.