
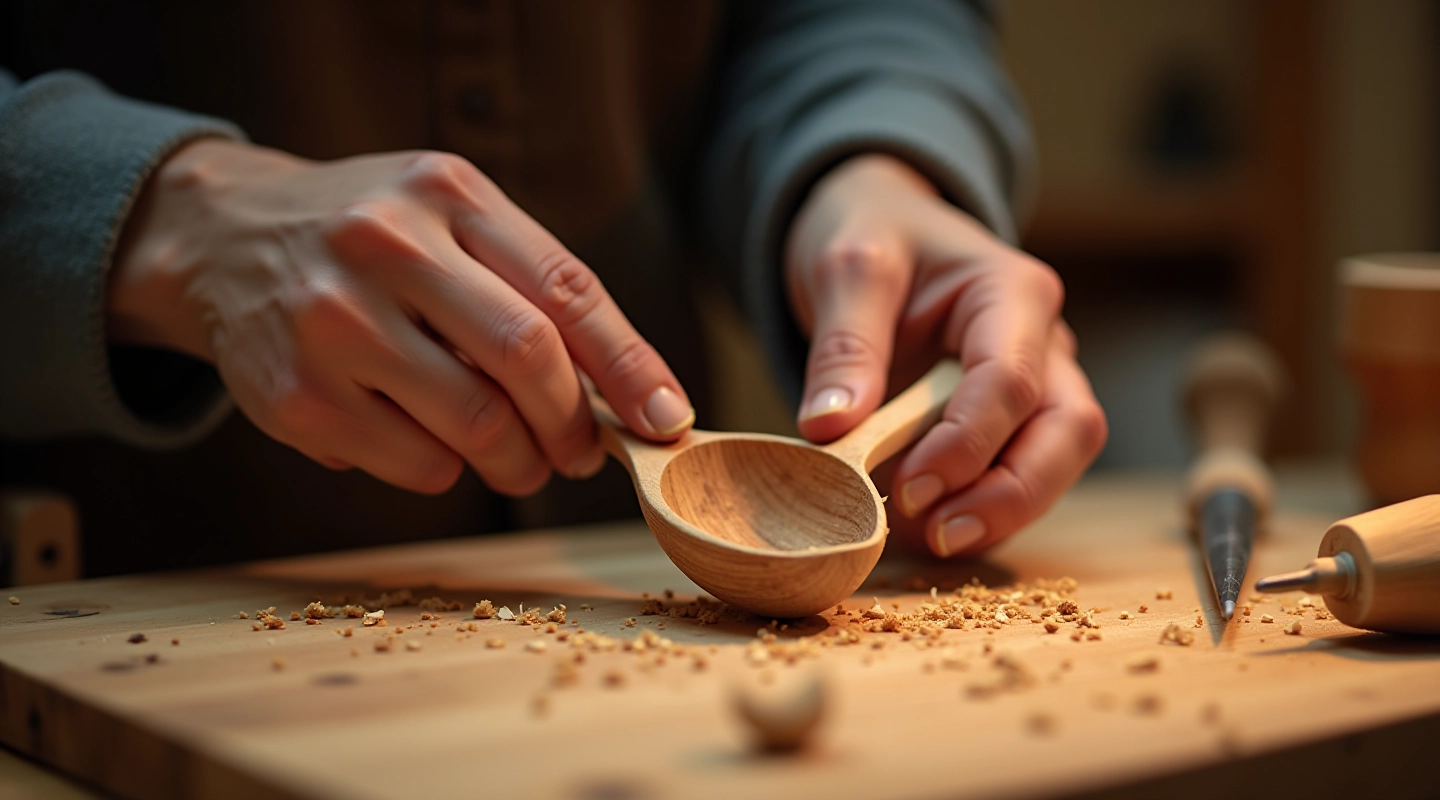
How to Carve Your First Spoon in a Weekend
Step-by-step instructions for creating a functional Latvian spoon. We cover tool selection, wood choice, and the exact cuts you need to make.
Read Guide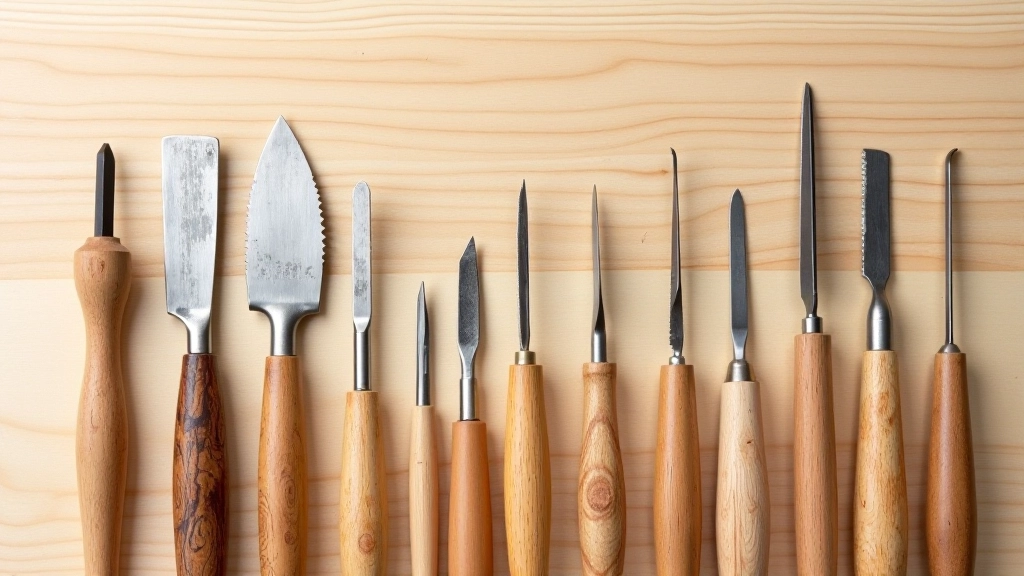
Not all carving tools are the same. We break down gouge sizes, blade shapes, and which ones actually matter when you're starting out.
Author
Editorial Team
Written by the wenroriteīga Woodcarving editorial team, focused on clear, honest guidance for beginning woodcarvers.
Relief carving isn't like whittling a spoon. It's different work. You're removing background wood to make the carved subject stand out, and that takes specific tools. The wrong ones? You'll either struggle for hours or wreck your piece. We've seen both happen.
Thing is, you don't need a workshop full of equipment to start. We'll walk through what actually works, what you can skip, and how to pick tools that'll last years without breaking your budget.
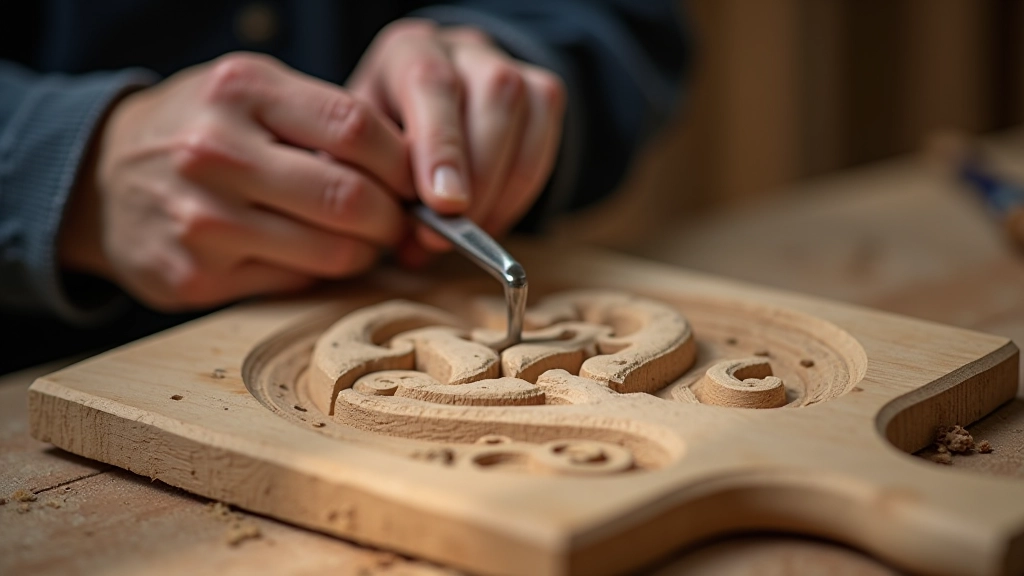
Gouges are the main tool for relief work. They're chisels with curved blades, and the curve matters. A straight chisel removes wood in a line. A gouge removes wood in an arc. For relief carving, you need that arc.
Gouge sizes are measured two ways: the width of the blade and the depth of the curve. A 10mm wide gouge might be shallow, medium, or deep. A shallow curve (about 5-10 degrees) works for fine detail. A deep curve (45+ degrees) removes bigger chunks fast. Most beginners do best with medium curves—they're forgiving and versatile.
Starter Set Reality: You'll actually use 3-4 sizes regularly. A 6mm, 12mm, and 20mm gouge with medium sweeps covers about 80% of what you'll do. Everything else is nice to have, not need to have.
Width ranges from 2mm (tiny detail work) to 50mm (broad background removal). Don't buy every size. Pick one from each range—small, medium, large—and add more as you discover what you actually reach for.
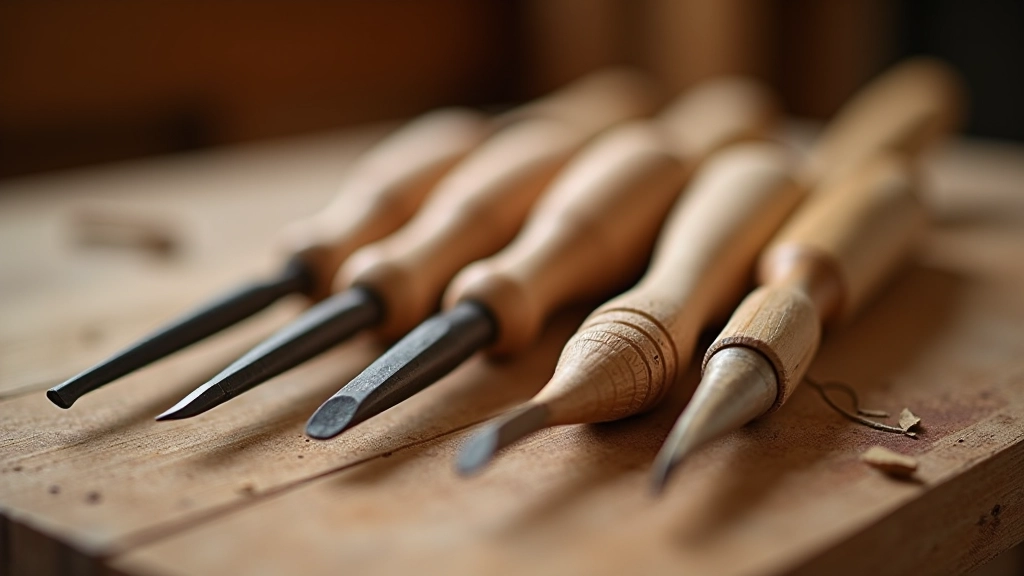
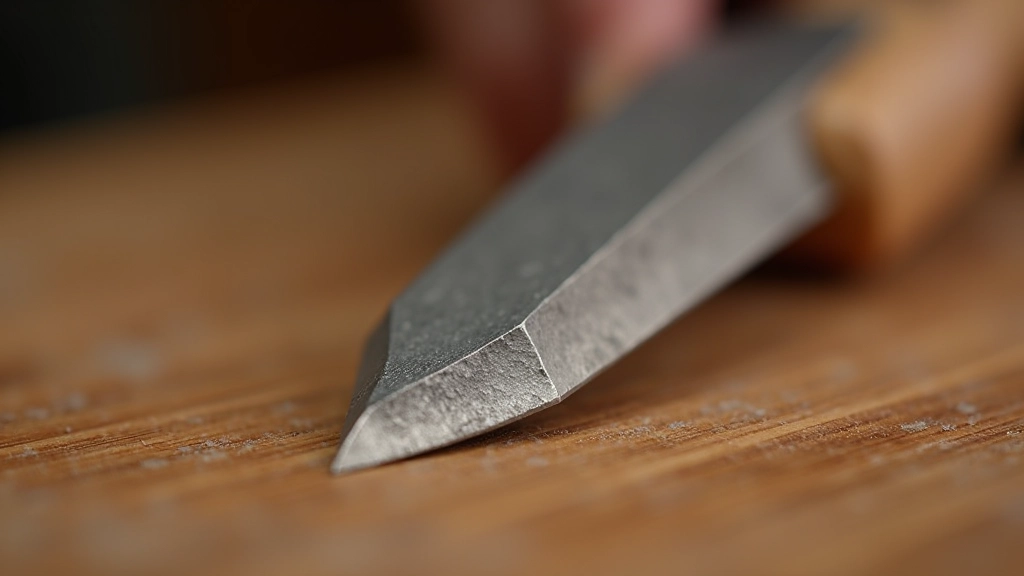
Not all blades are created equal. High-carbon steel holds an edge longer than softer steel, but it's more brittle. Tool steel (a specific alloy) splits the difference—decent edge retention, won't shatter if you tap it wrong.
You'll see blades labeled "fishtail," "spoon," and "straight." Fishtail blades curve inward at the sides, letting you cut sharp angles without the blade shoulders digging in. Spoon gouges have a rounded end—good for working curves. Straight sides? Standard relief work. Pick what matches your design style. Most people use straight for 90% of relief pieces.
Edge angle matters too. Most relief gouges are sharpened to about 20-25 degrees. That's steep enough to stay sharp, shallow enough to cut smoothly. If you buy used tools, you might find 15-degree or 30-degree angles. They still work, just differently.
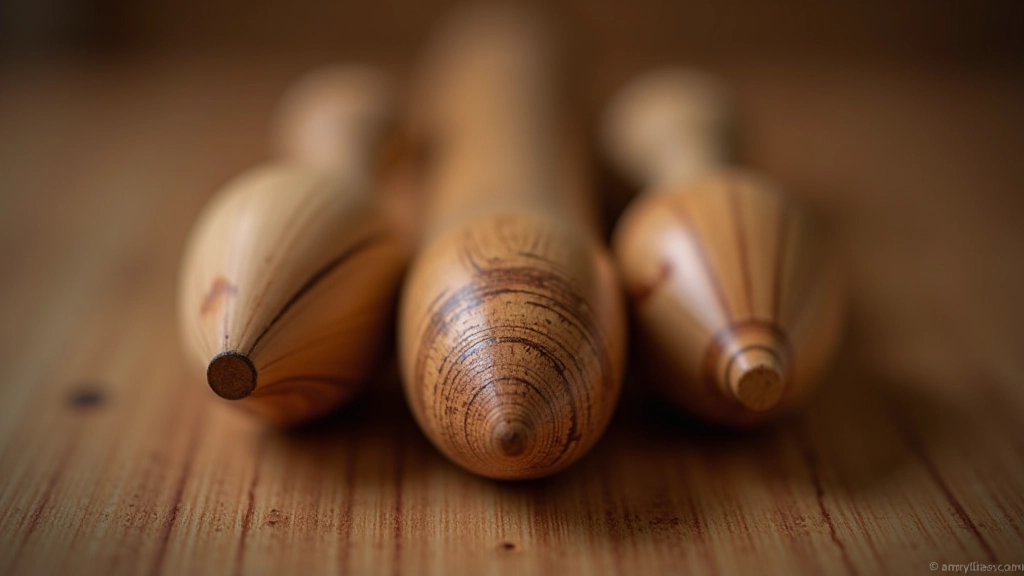
Here's what people miss: you're going to hold these tools for hours. A uncomfortable handle doesn't just slow you down—it causes hand fatigue and mistakes. Rounded handles are better than faceted ones. Wood handles (ash, beech, rosewood) feel warmer than plastic and won't slip when your hands get dusty.
Ferule—that metal ring between blade and handle—matters more than you'd think. A loose ferule means the handle wobbles. A tight one keeps everything solid. Check this when you buy. Twist the handle gently. There shouldn't be any movement.
Length varies. Relief carving tools are usually 4-5 inches long. Longer handles give you more leverage but less control. Shorter handles let you work closer to the wood. Most beginners do better starting with standard length, then adjusting if needed.
Related guides to help you progress
Step-by-step instructions for creating a functional Latvian spoon. We cover tool selection, wood choice, and the exact cuts you need to make.
Read Guide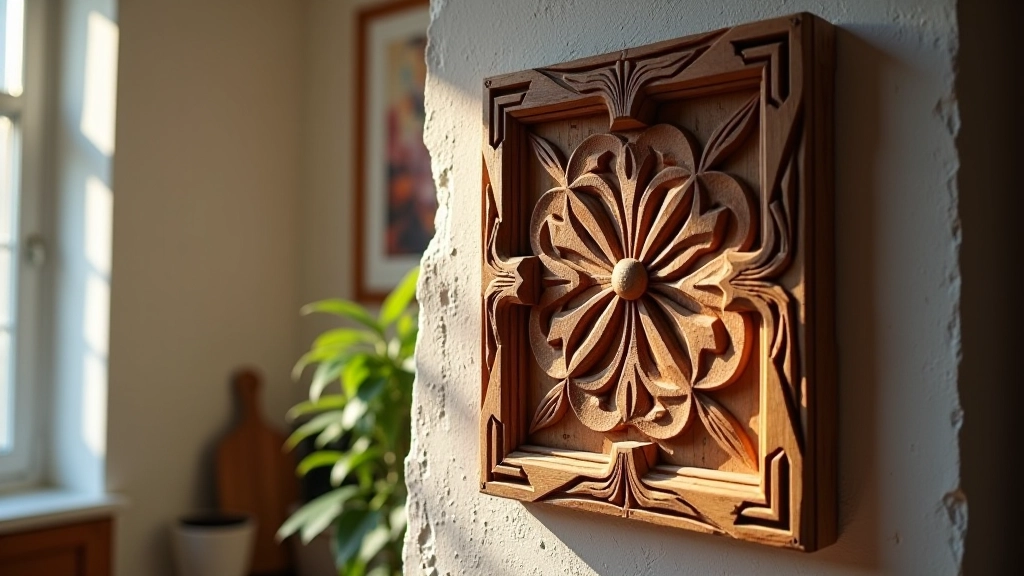
These patterns aren't random. Each symbol has meaning. Learn the basics of traditional design and how to incorporate them into your relief work.
Read Guide
We've seen them all. Grain direction mishaps, tool pressure problems, and wood selection errors. Learn what to watch for before you start.
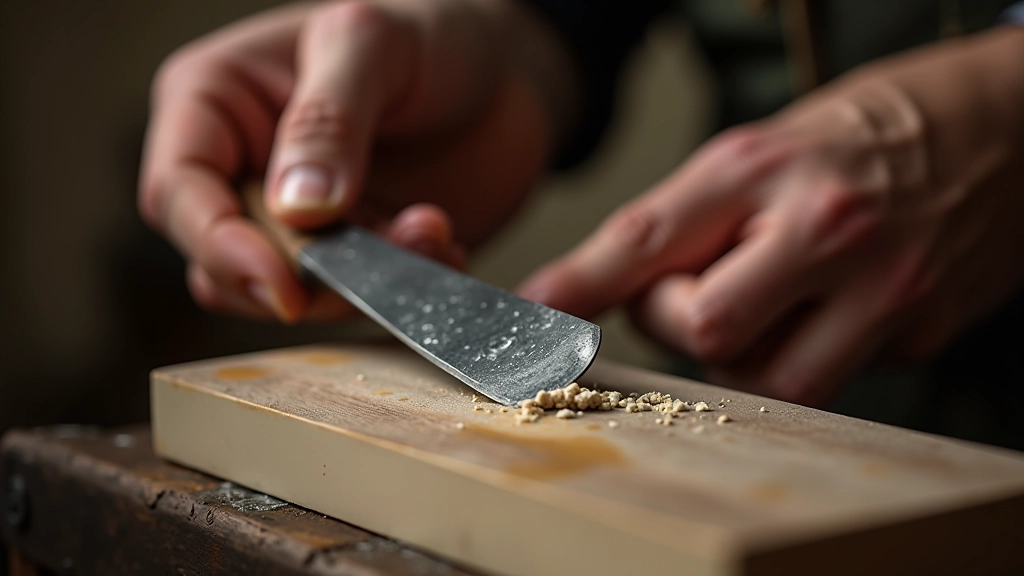
Read GuideA dull tool is dangerous. It slips. It chatters. It ruins detail work. You'll need a way to sharpen. That doesn't mean expensive equipment. A leather strop and stropping compound cost under €15 and keep edges sharp between heavy sharpening sessions. For actual sharpening, you've got options: whetstones, oilstones, or sandpaper on glass. Most beginners start with sandpaper—cheap, effective, no learning curve.
Sharpen before you notice the tool's getting dull. A blade that's sharp all the time works better than one that's been ground back three times. It's easier too. Takes 2-3 minutes with a strop versus 15 with whetstones.
Store tools carefully. A wall-mounted rack or a wooden block with holes keeps blades protected and organized. Don't just toss them in a drawer—the blades will dull from banging into each other, and you might cut yourself digging around.
This guide is educational and informational. Tool selection depends on your specific project, budget, and skill level. Circumstances vary widely. We've shared what we've learned from experience and from conversations with carvers, but your own experience will teach you more than any guide. Try different tools when you can. What works for one person might not work for another. Stay safe, keep your tools sharp, and don't hesitate to ask other carvers for advice on specific brands or techniques.
You don't need a full toolkit on day one. A good 6mm, 12mm, and 20mm gouge with medium sweeps, a decent mallet, and a strop will get you started on real projects. You'll learn what you actually need as you work.
Quality matters, but it doesn't have to be expensive. Look for tools from established makers—they hold their value and work for decades. Used tools are often a bargain if the blade isn't damaged.
The best tool is the one you'll actually use. Pick ones that feel good in your hand, stay sharp, and match the work you want to do. That's it. Everything else is refinement.